The connection mode used determines the speed of data exchange with a device. While this usually isn’t particularly important for COM port devices, USB devices normally generate a much larger amount of traffic and, therefore, available network throughput significantly impacts the overall user experience while working with a device remotely. Thus, it is useful to know what connection modes FlexiHub comes equipped with, how they compare in terms of speed, and how to always get the best performance regardless of what network connection you are on. The following sections cover this in detail.
Available connection modes
There are three connection modes available in FlexiHub:
- direct connection, in which, as the name suggests, two computers connect directly;
- UDP connection, which employs the so-called UDP hole punching technique to try and get through NATs and let the two peers connect;
- connection through the Redirection Server, which uses an intermediate node on Eltima’s side as a proxy between two user nodes.
Note: connection through the Redirection Server is available only in paid subscription plans.
The optimal connection mode is always selected automatically, with the following precedence: direct connection → UDP connection → connection through the Redirection Server.
In terms of speed, direct connection is always the fastest. UDP connection and connection through the Redirection Server are markedly slower, but come to the rescue when direct connection is not possible, for instance when both computers are behind NAT.
Status icons and their meaning
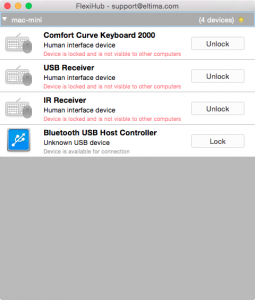
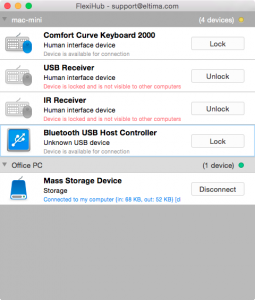
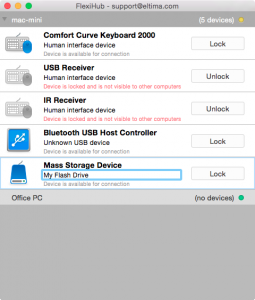
Opening FlexiHub, you see a list of computers currently logged in to your account: the first in the list is your computer, the rest – remote computers.
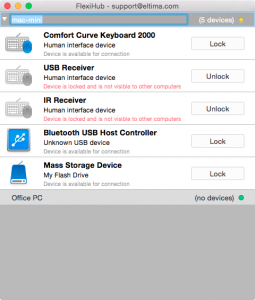
Next to every computer’s name there is an icon that represents its current network availability:
- For your computer:
- a green icon means that you have a public IP address (i.e. an IP address, by which your computer can be uniquely identified on the Internet), which allows remote computers to connect to you directly;
- a yellow icon indicates that you do not have a public IP and that your computer is not “visible” from the Internet.


- a green icon indicates that your computer and a specific remote computer “see” each other over the network in at least one direction and can establish a direct connection;
- a yellow icon means a direct connection with a specified computer is not possible;
- a gray icon – the computer is currently offline.


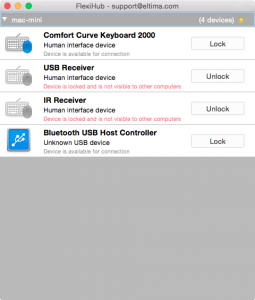
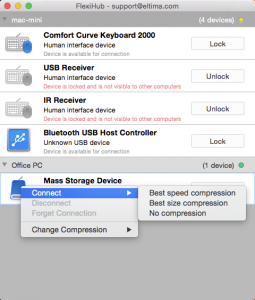
There is also a status string for every device, by which you can tell the mode of the connection currently established to it:
- no icon denotes direct connection;
- [U] stands for UDP connection;
- [R] means connection through the Redirection Server.


Typical network configurations
- The computers have direct network visibility within a local network (Ethernet, Wi-Fi) – a direct connection is possible:
- The computers are not in the same network, neither has a public IP address, both connect to the Internet through a router/NAT – a direct connection is not possible, a UDP connection or a connection through the Redirection Server is used:
- One of the computers has a public IP address – a direct connection is possible:
- The router on one of the computers succeeded in forwarding the required ports automatically – a direct connection is possible:
- The computers are connected via a VPN – a direct connection is possible, but the speed is comparable with that in a connection through the Redirection Server.
Getting the best performance
If the device you are connecting to is located on a computer listed in FlexiHub with a yellow icon and you are noticing a lack of responsiveness and/or unacceptably low transfer rates, here is what you can do to allow FlexiHub to switch to direct connection mode and thus dramatically improve the performance:
- enable UPnP port forwarding or manually open TCP port 5000 on your router (see your router documentation for more information);
- obtain a public IP address for one of the computers participating in the connection.